In this guide we will quickly setup Cloud Backup for a VM or dedicated server.
Select a backup plan from: https://www.solvps.com/cloud-backup/
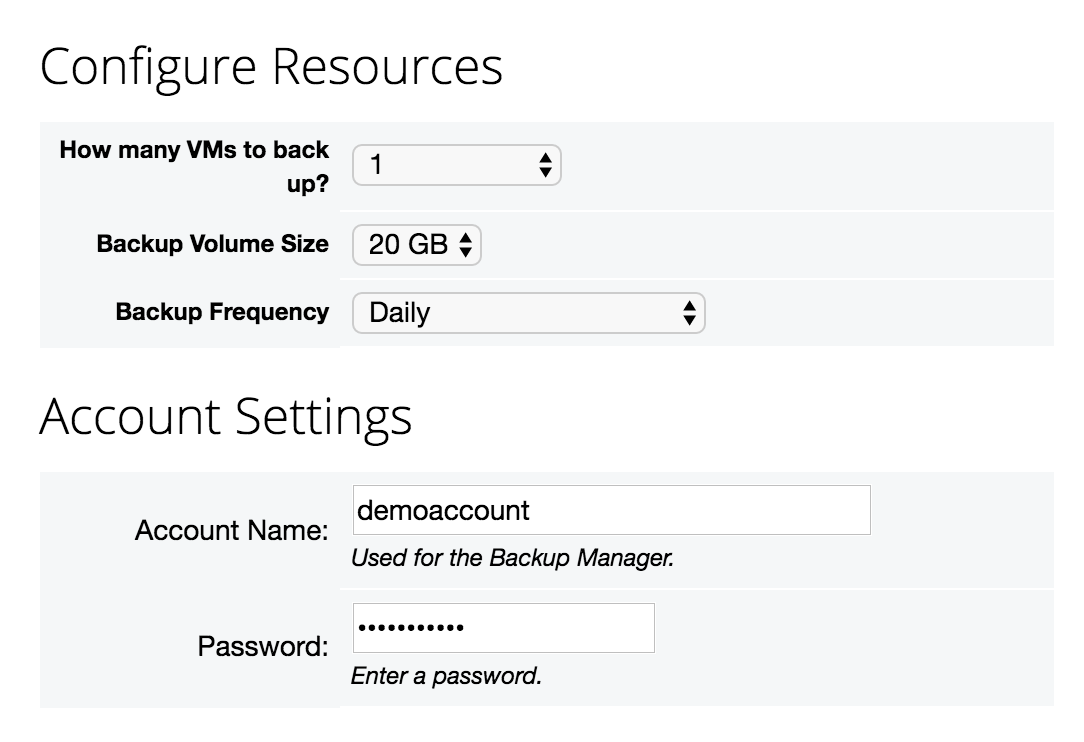
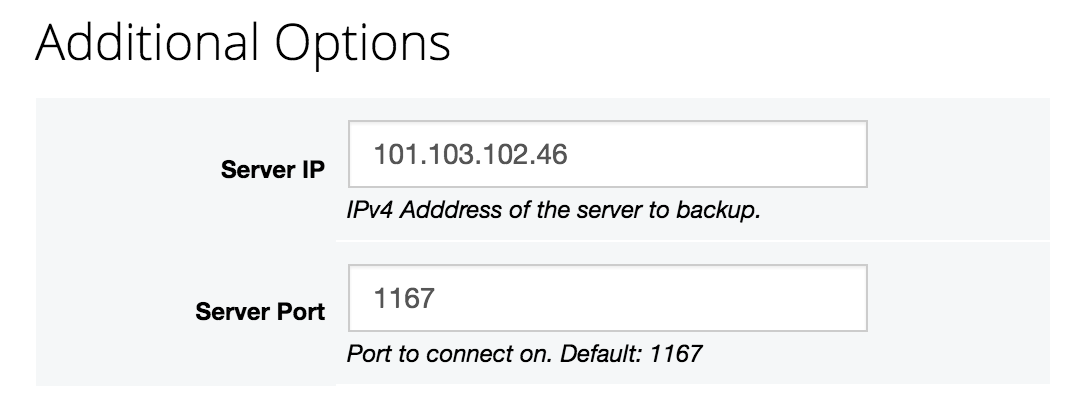
The order process requires a few options to be configured:
After ordering Cloud Backup, proceed to the SolVPS Control Panel > Dashboard.
Click Manage Service for the new Cloud Backup/DR service. On this page, you can access the Backup Manager to configure your Servers and Backup Policies, and also modify the configuration of your backup service, including the number of licensed servers, backup volume size, and backup frequency.
Click Go to Backup Manager to setup your server.
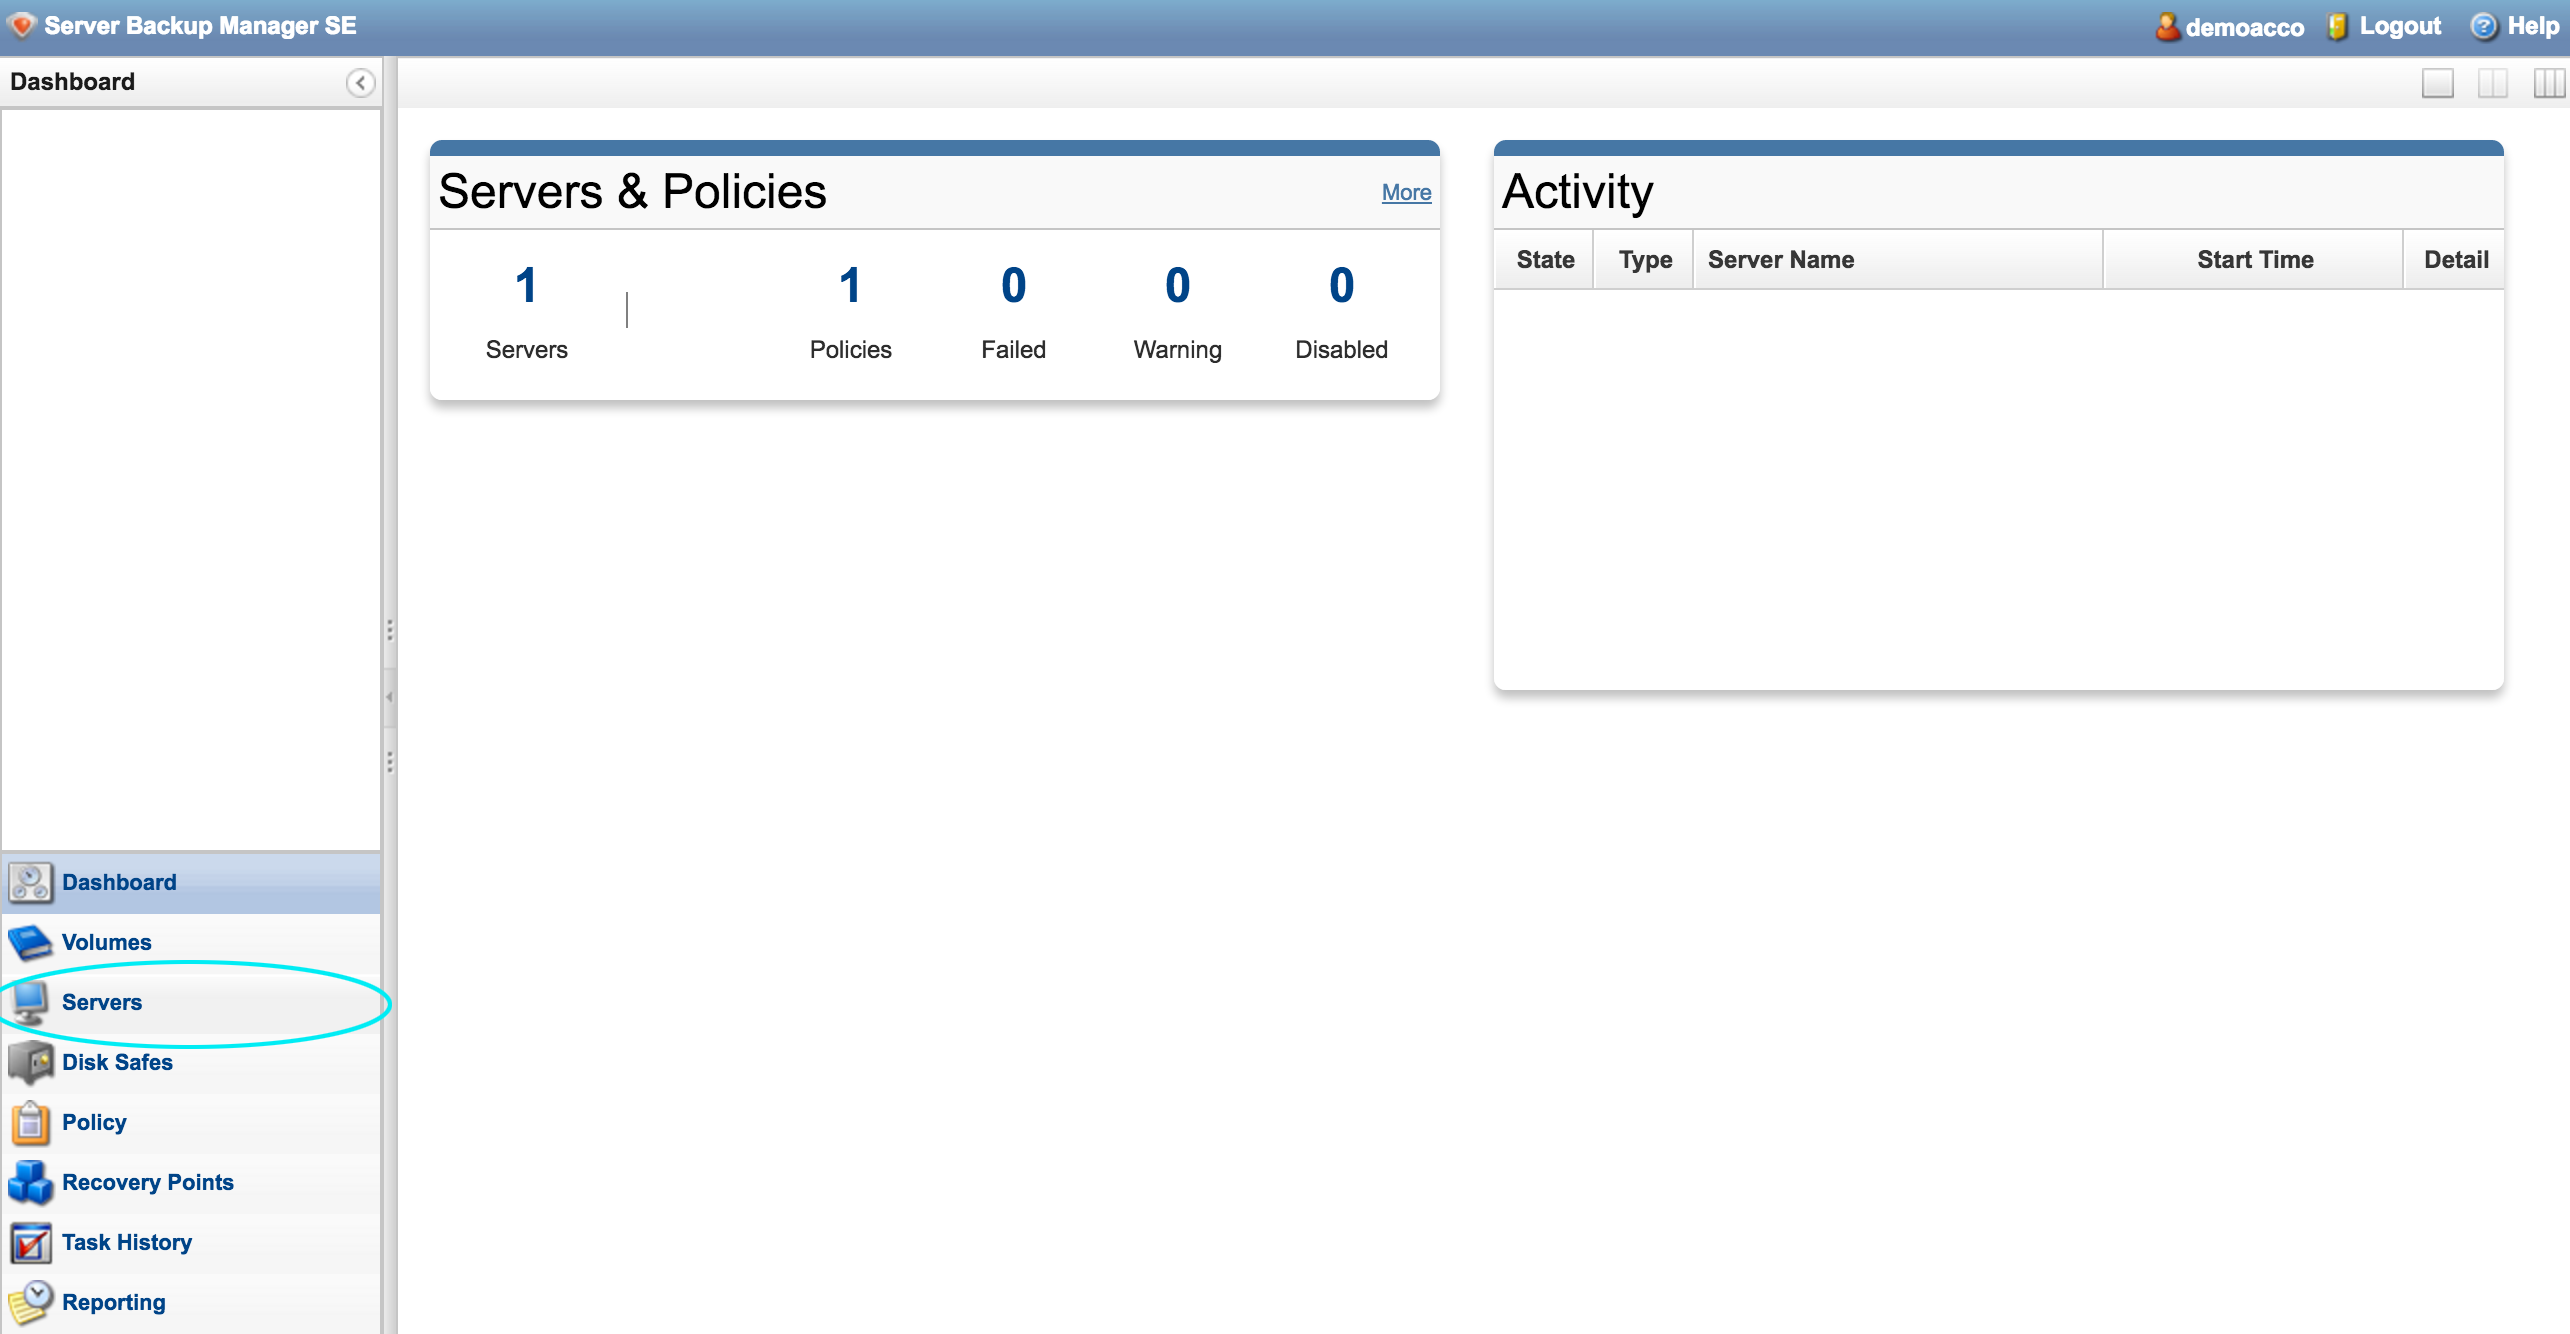
Welcome to the Backup Manager. There is not much to see here, yet. Let’s go to Servers in the bottom-left navigation pane.
Here you will see your server. However, the backup software must be installed on the server before it can be fully connected to the Backup Manager.
Download the Backup Agent installer for your server’s operating system:
Run the installer on your server. Simply agree to the EULA and proceed through the installation. When the installation is finished, you may be asked to Reboot the server.
Note: If you need help, contact us to have SolVPS Technical Support install the backup agent for you.
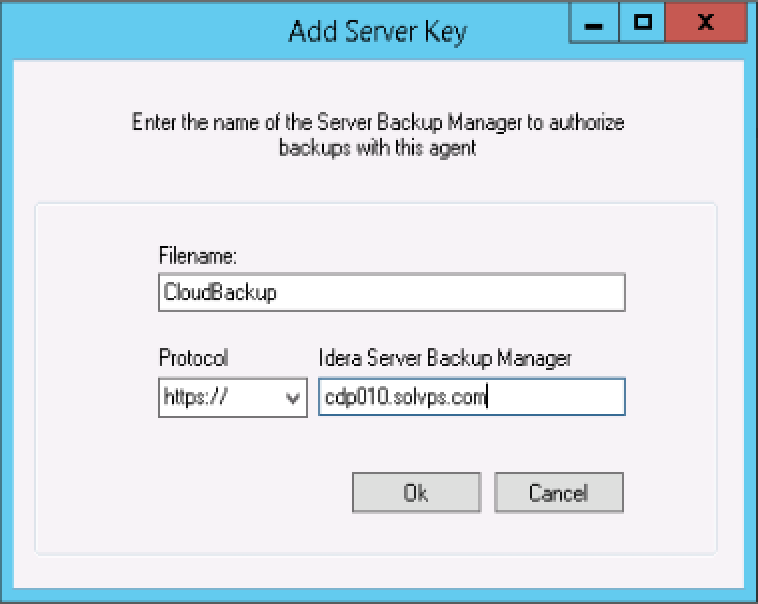
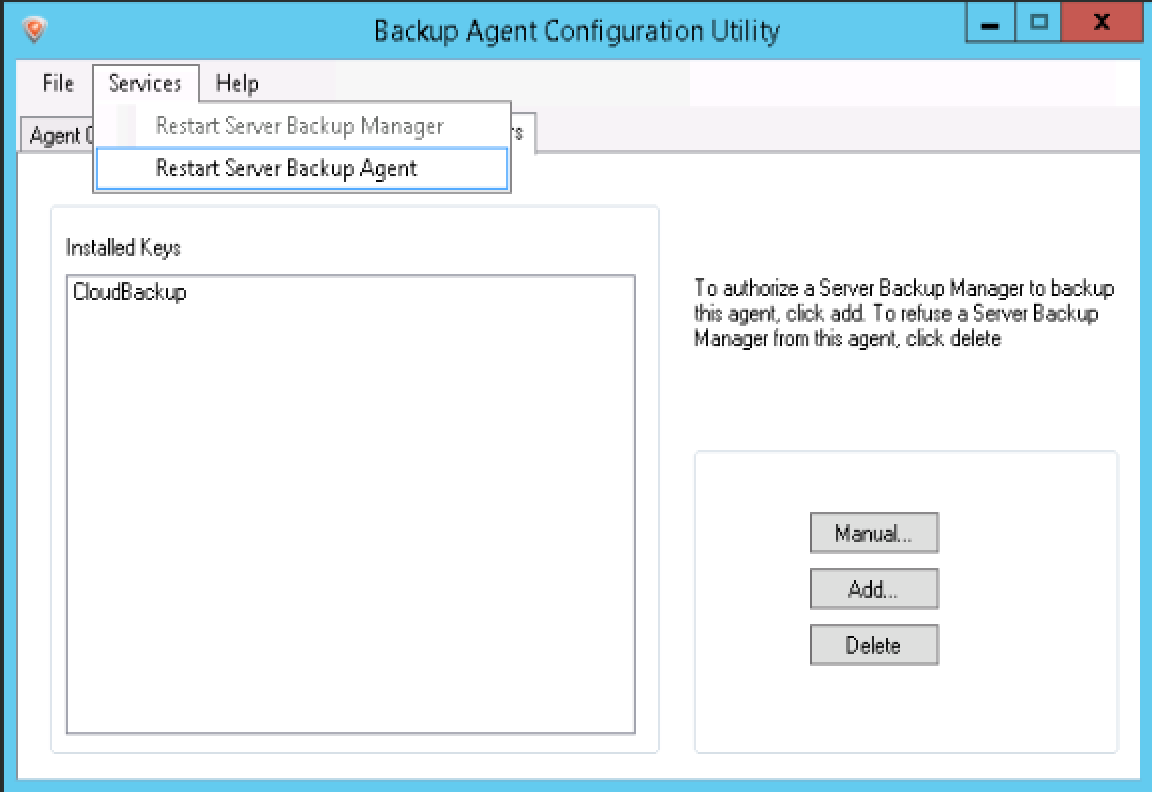
Go to the Start menu and look for Server Backup Agent Configuration Utility. Open the utility and go to the Authorized Server Backup Managers tab.
Enter the SolVPS Backup Manager Server details and click OK.
Click Restart Server Backup Agent in the Services menu of the application.
Finally, we need to allow the backup traffic through Windows Firewall. We have created a script to automate this process. Download the script below and run it in PowerShell with Right Click > Open in PowerShell. (You must be logged in as Administrator or an Admin user).
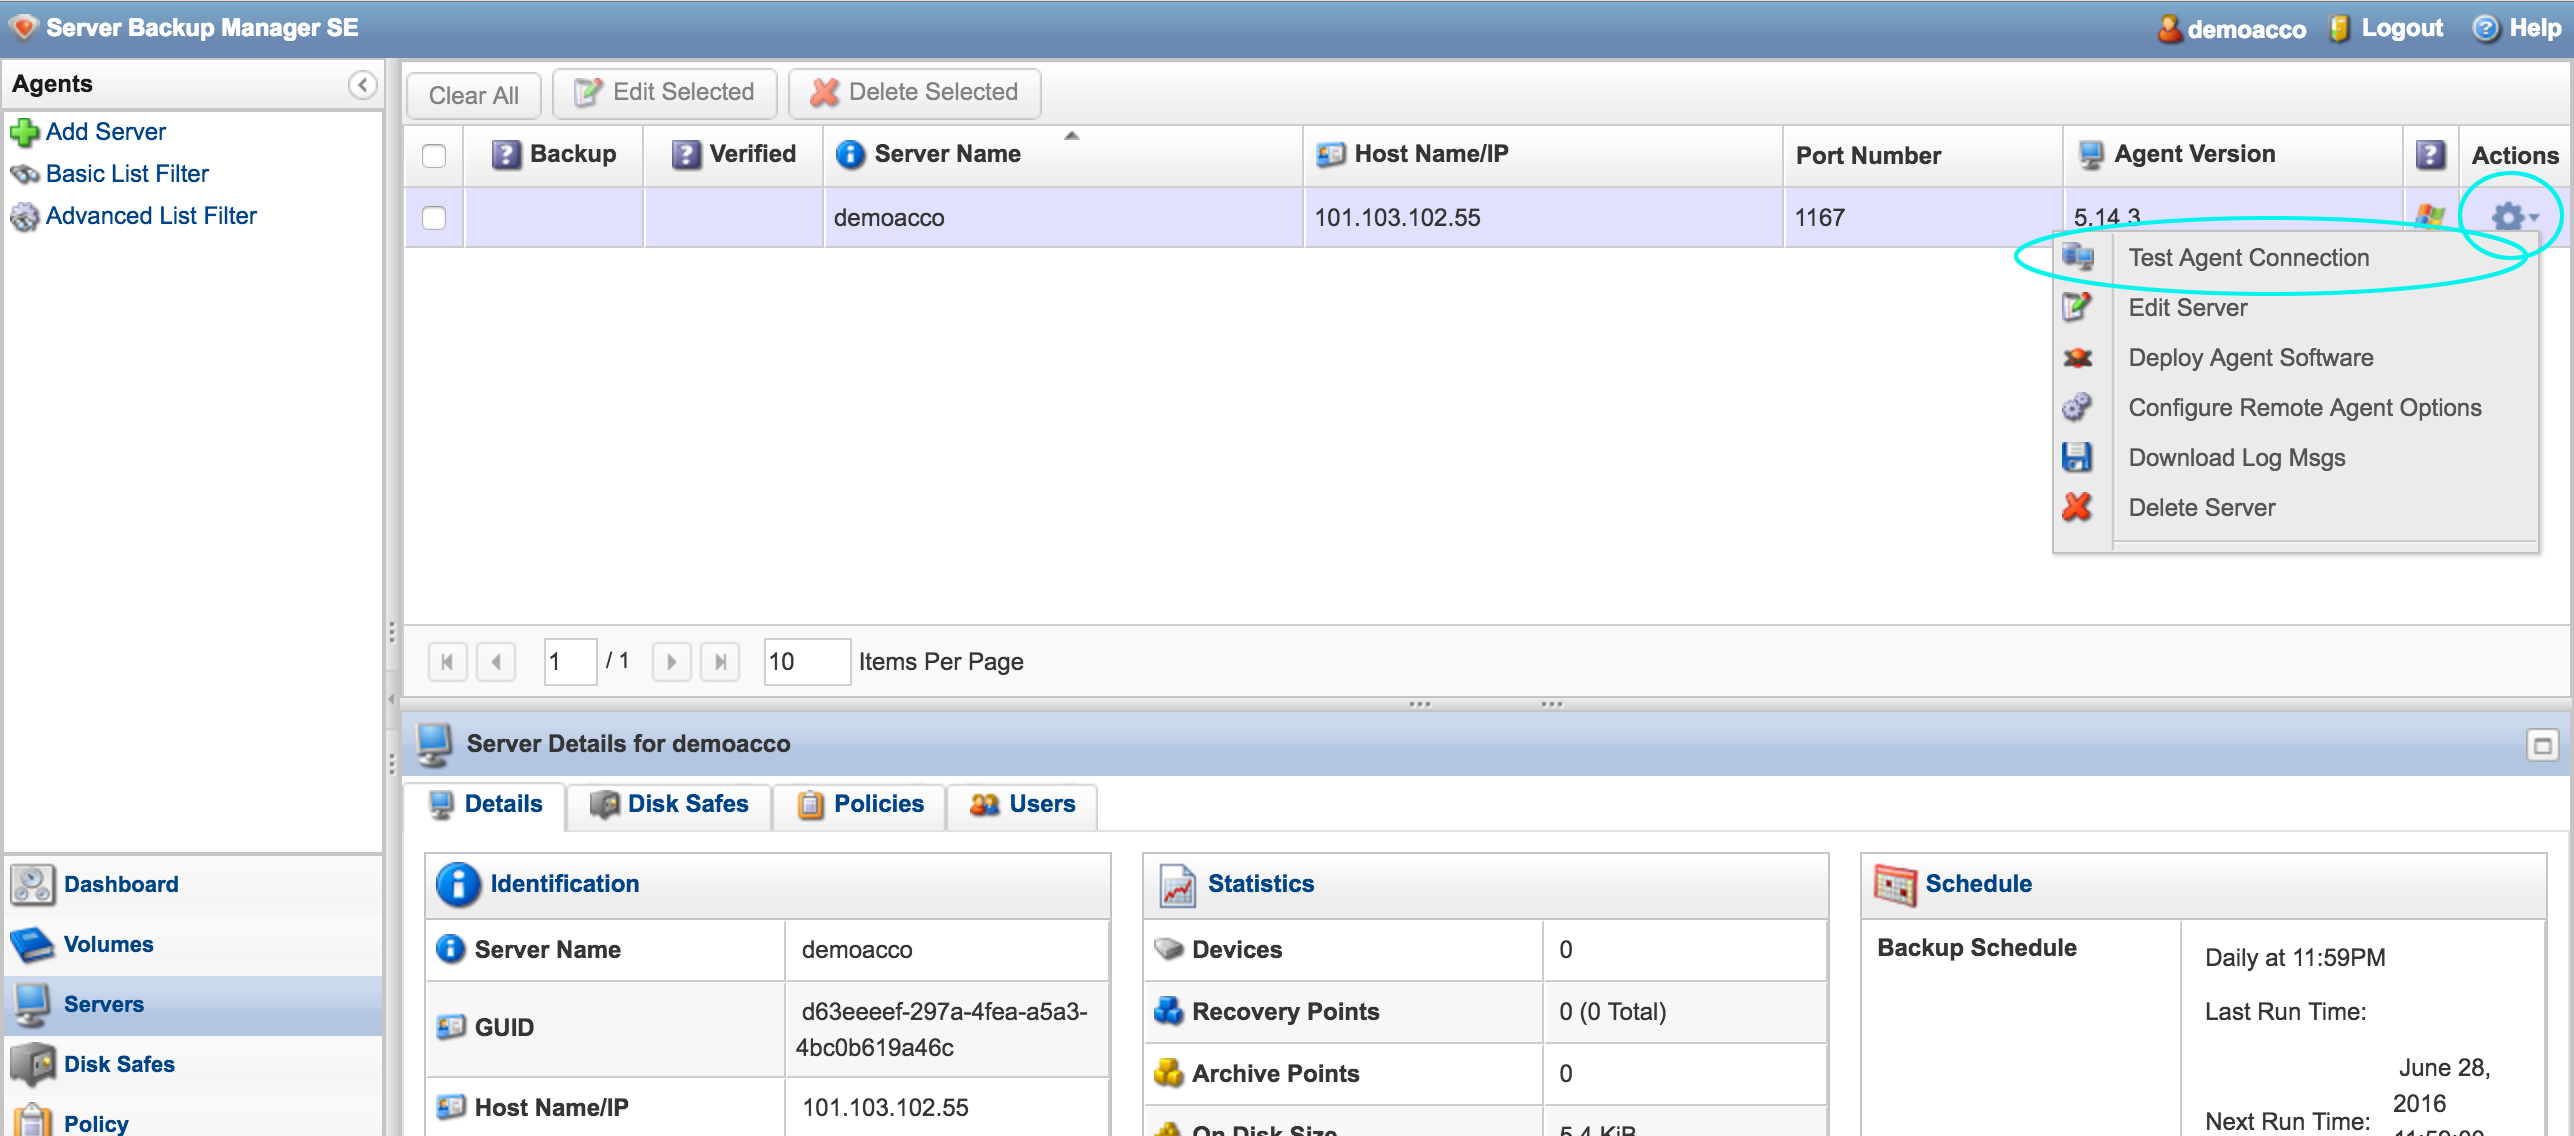
Return to the Servers page of the Backup Manager, and click the Actions icon > Test Agent Connection to authenticate with the VPS or dedicated server.
At this point, the server is fully activated, and backups will begin to be created on schedule. We can review the backup schedule, configure extra settings, and manage backup checkpoints.
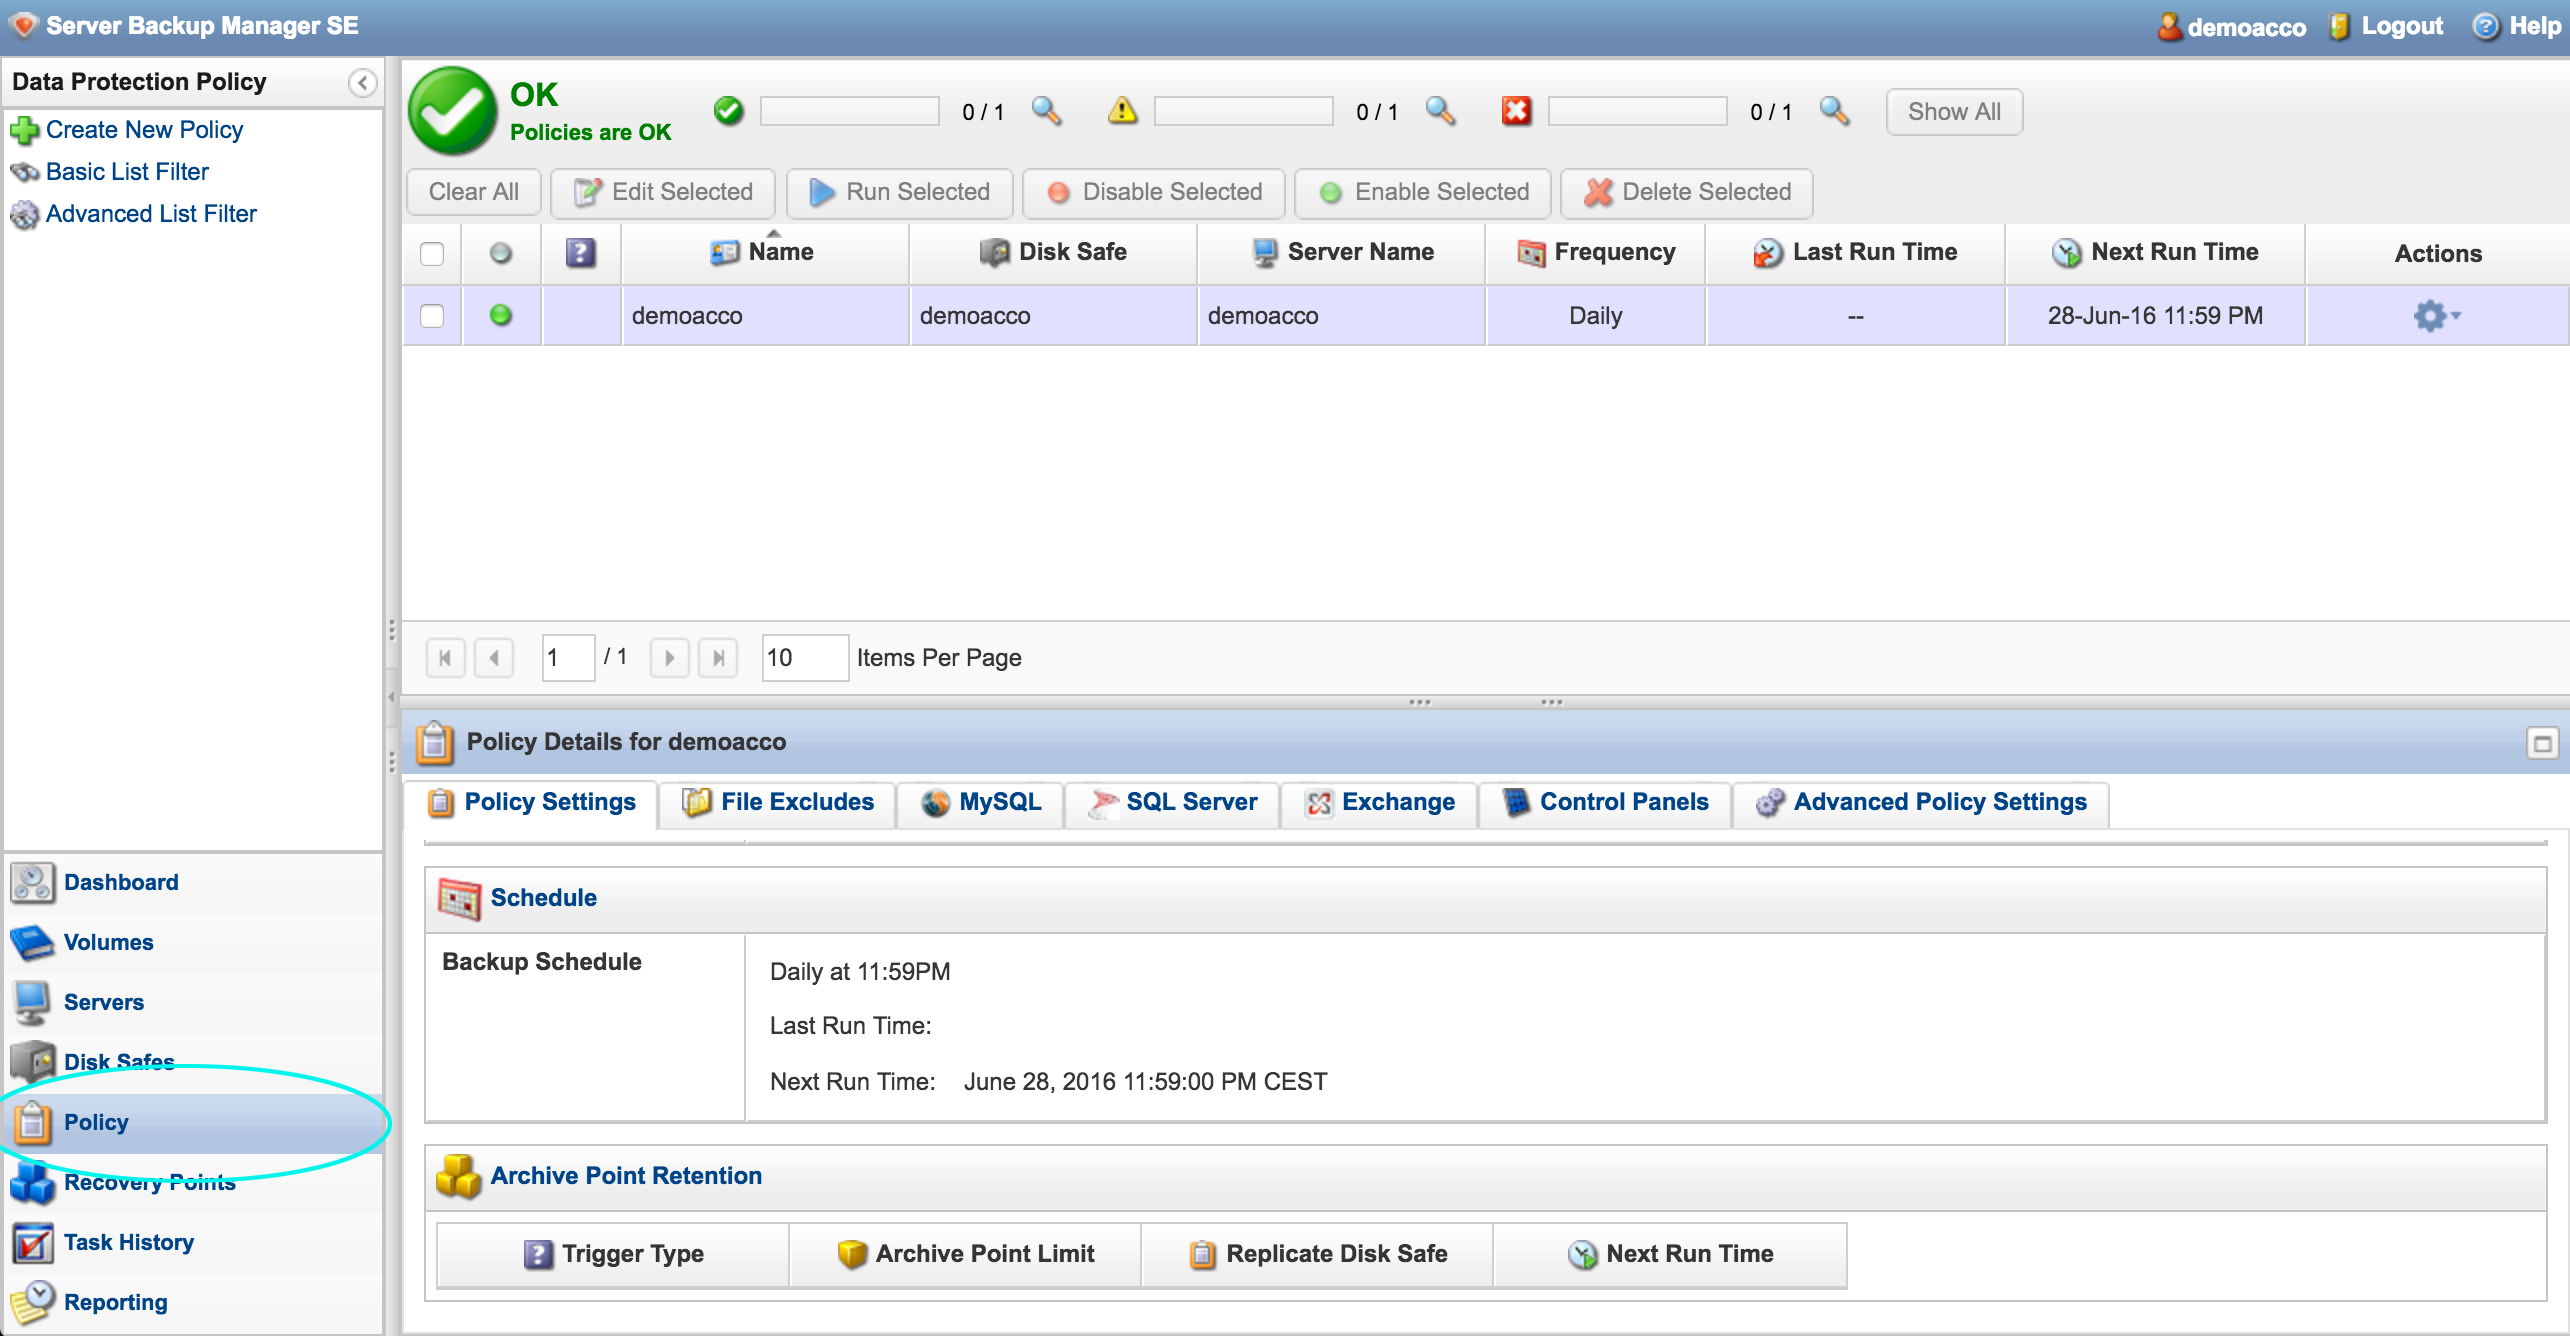
Click Policy in the navigation pane. This page displays an overview of backup plan status. There are several extra features here including the ability to add specific Microsoft SQL, SQL Server, and Exchange Server databases, and for Linux, MySQL databases, which can be backed up on-demand and selectively restored.
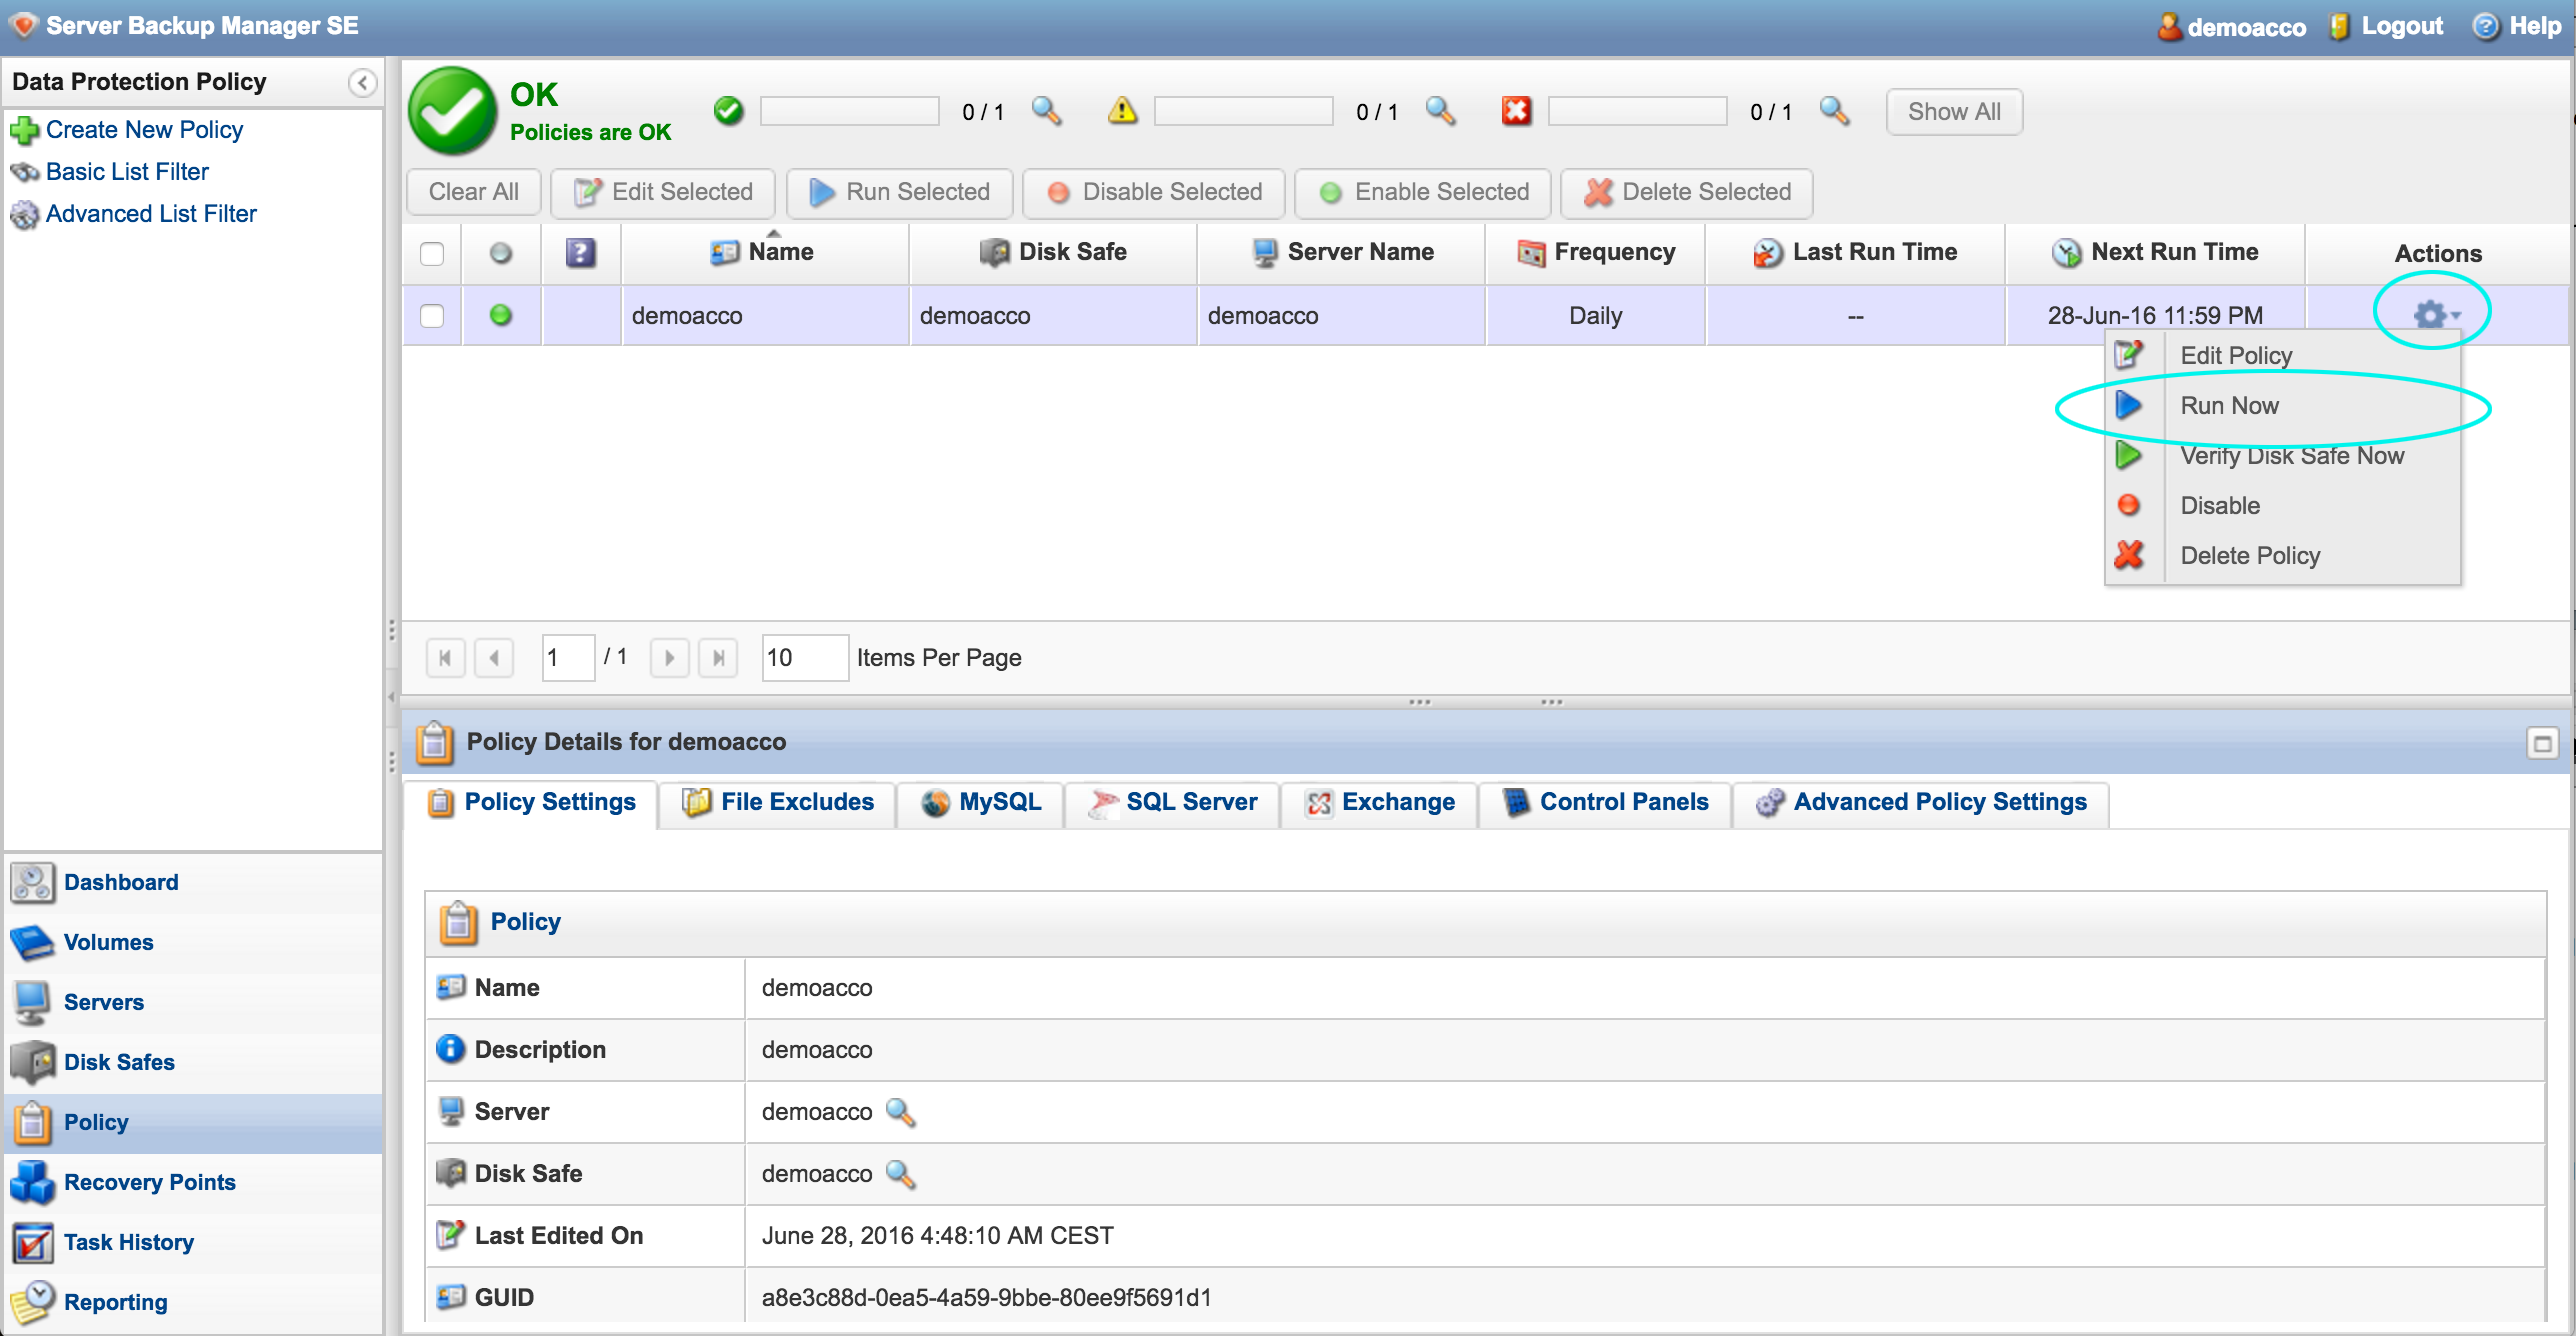
The first backup will take place automatically on schedule, but if you want to start a backup immediately, go to the Policy page and click Actions icon > Run Now.
The server now has an active backup policy, and (hopefully) a secure backup is already running. This process should be repeated for any additional servers that need to be added to the Backup Manager.
Get Cloud Backup/DR for your VPS or dedicated server now: Cloud Backup by SolVPS
Lightning-fast VPS hosting with enterprise SSD storage, global data centers, and 99.99% uptime. Built for developers, trusted by enterprises.
support@solvps.com
1-888-256-8213